
Steps Making Java Application That Use WiiMote – Preparing The Project
Have you ever know how to make a desktop application that able to read and write data to Wii Remote? May be yes, may be no. In my other blog post, I’ve explained how to make that kind of application in C# .NET language. Now, I will explain how to make it in Java language.
First thing you should do is prepare these :
1. JDK 1.6, main library of java.
2. WiiUseJ 0.12b or later, additional library to use wiimote. You can get it here. http://code.google.com/p/wiiusej/downloads/list Download both the API and the javadoc.
3. Eclipse any version would be fine. We use it as the IDE, if you use another IDE no problem. But I will explain with eclipse.
4. BlueTooth connectivity, to establish connection between your computer and wiimote.
5. The Wii Remote of course.
Before create the project, make sure you already connect the wiimote to your computer. If you don’t know yet, read my tutorial here http://thejackal.blog.binusian.org/2010/10/25/steps-making-windows-application-that-use-wiimote-part-one/
After succeed connecting the wiimote we move to the next steps, preparing the project.
Project Preparation
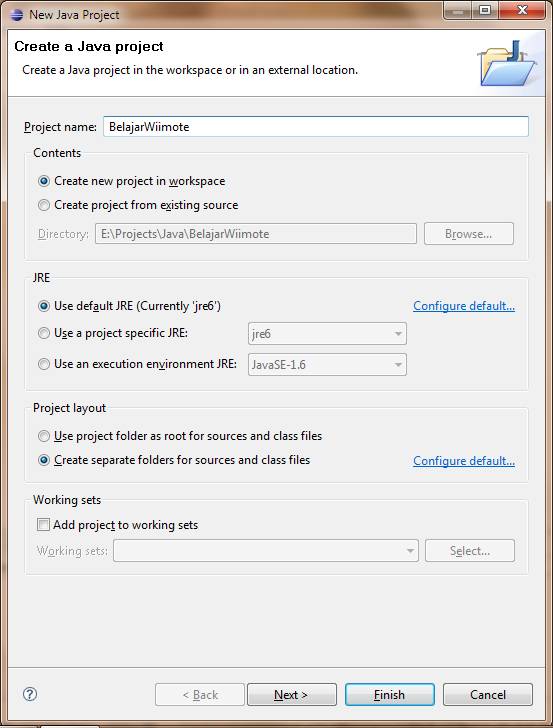
1. Open the eclipse, then create new java project. Fill the project name whatever you desired. You can choose either “Create new project in workspace” or “Create project from existing source”. The choice is up to you, but make sure you know where do you save your project. Click next to continue.
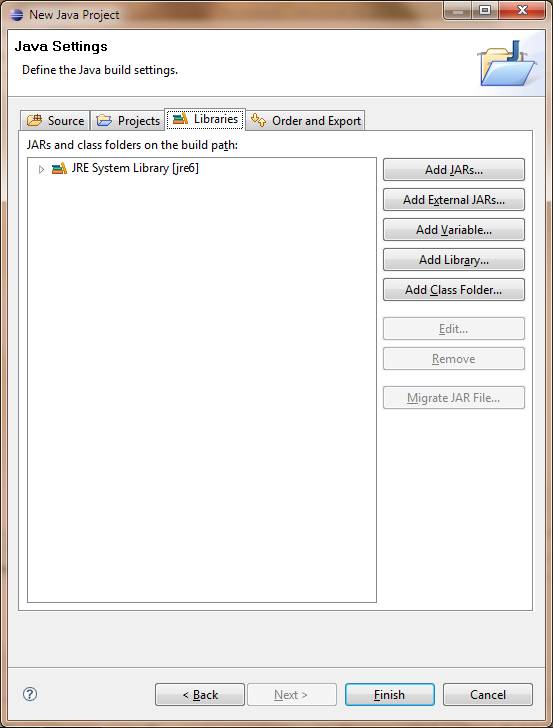
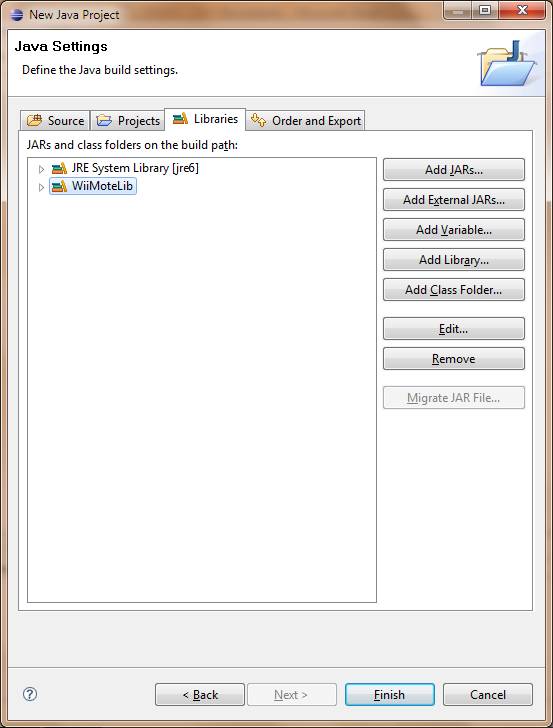
2. Click “libraries” tab. You will see what library you use. Click “Add Library” to add new library, in this case we add the wiimote library.
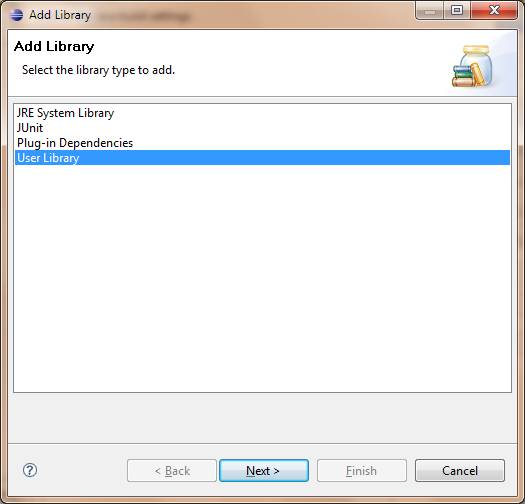
3. Choose “User Library” and then click next.
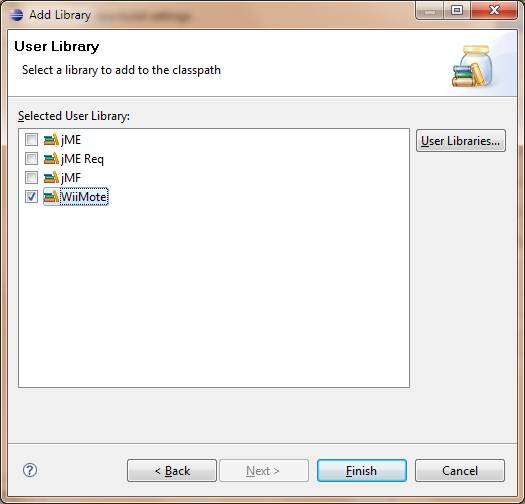
4. If the “WiiMote” library already exist, just check it and then click finnish. But I’m sure most of you find that Wiimote library doesn’t exist yet. So, click “User Libraries” to create new library.
5. Click “New”, enter the name of the library. You can name it whatever you want, but I recommend that you just name it “WiiMote” or “WiiMoteLib”.
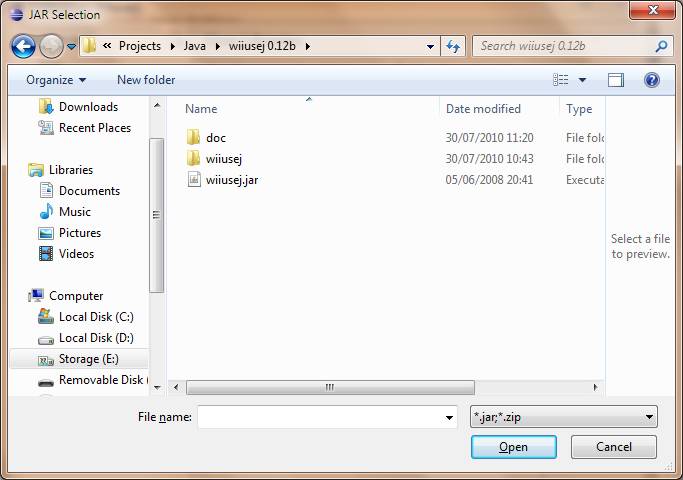
6. Click on your new library then click “Add JARs” then find where the wiiuse.jar is.
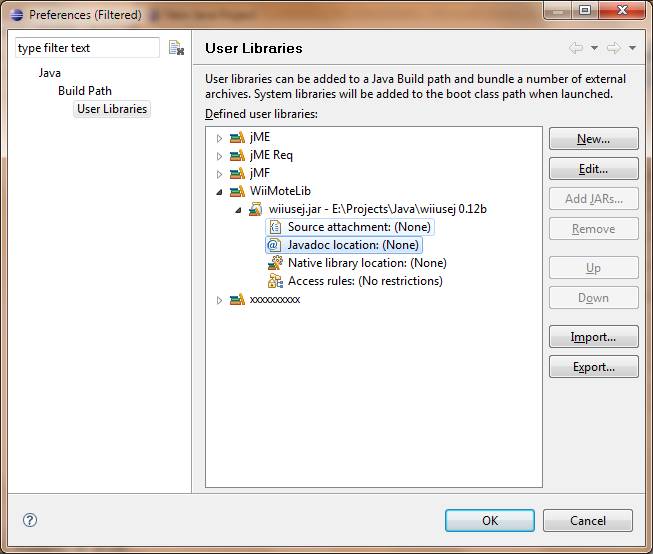
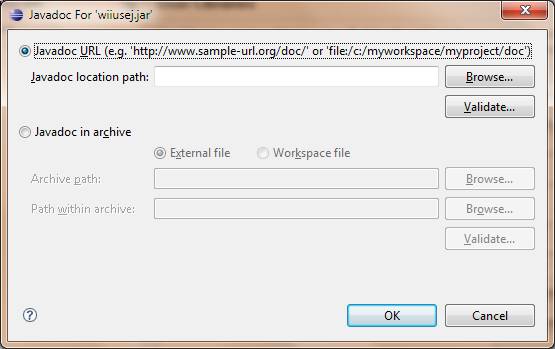
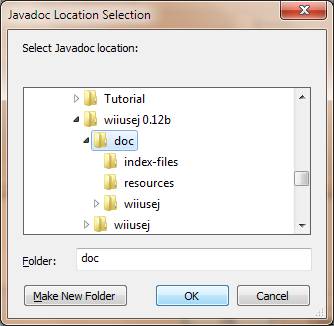
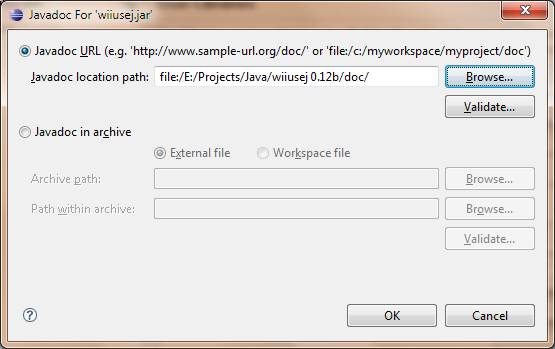
7. It’s optional though, but I recommend you to set the javadoc of this library. For what? If we set the javadoc, we can see hint of the syntax. So, double click on the “javadoc location” and browse where the javadoc is. Click “OK” to set the javadoc.
8. Now we’re done adding new library. Click “OK” to finish. The “WiiMoteLib” should be appear right now. Check it, then click Finish. We back at the new project window. You will see the libraries that we use. Click finish to begin the creation.
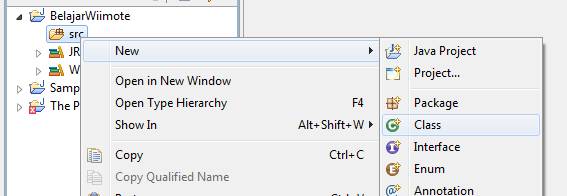
9. Create new class in src folder. Name your class, check the “public static void main(String[] args)” to genereate void main function. Click finish.

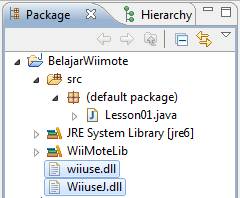
10. Here the last we need to do. Copy these 2 files to your project folder, wiiuse.dll and WiiuseJ.dll if your OS is windows, or libwiiuse.so and libWiiuseJ.so for linux.Those file are inside the zip that contains WiiuseJ.jar. Now, we’re finish preparing the project. Your project folder should be like this.
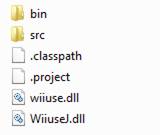
Refresh your project in eclipse, those 2 files will appear there too.
Before we begin to code, just let’s take a break, lol… I will continue in the next post.